There are two simple rules to follow when creating reports. This will prevent difficulties and avoid a bad experience.
Users without previous experience are advised to take stock of the overall arrangement of the assembly on squared paper before starting work. This can be especially useful when combining parts with different join modules.
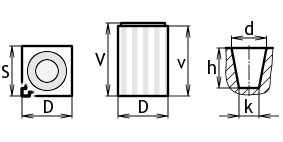
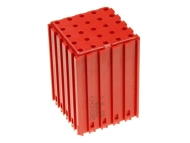
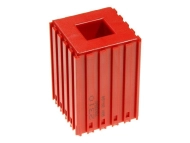
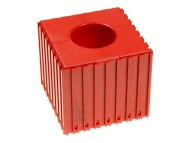
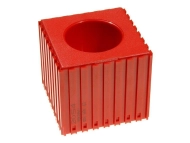
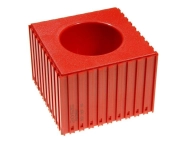
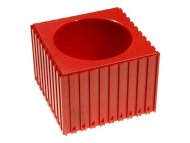
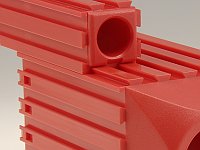
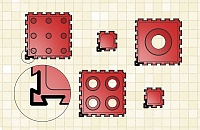
On each box you will find four different corners. Only one of them has an arrow shape and is called a positioning corner.
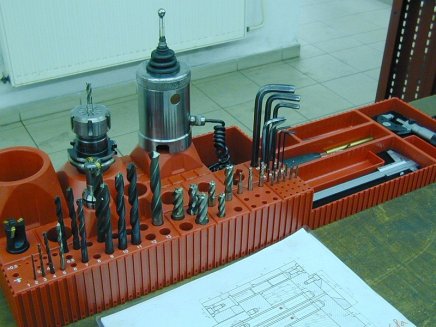
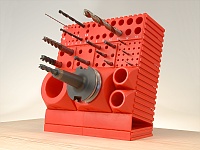
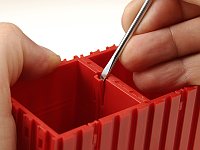
First rotate each element of the system correctly before connecting it to the assembly. The positioning corner should point to the lower (or closer) left corner of the resulting assembly (see Fig. 2).
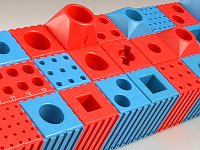
When creating an assembly, always first connect the individual boxes to the whole in the crosswise direction from left to right (direction 1). If the row is wide enough, you can connect other parts in the longitudinal direction from front to back (or bottom to top, direction 2).
Following the correct connection order means that you start at the near left (or lower left) corner of the assembly and end at the far right (upper right) corner of the assembly.
jak-na-boxy-cz.pdf (1.11 MB) - Instructions for connecting boxes for printing
